Showing posts with label Vegetarian. Show all posts

Thursday, July 5, 2012

Fat Cow and Happy 4th!


Yes, the vegetarian family went to Fat Cow.

And, we love it!

Any of the burgers can be served with a salmon fillet or a giant portobello mushroom. I'm currently head over heels in love with the Napa Burger, which stars sliced pear, red onion marmalade, goat cheese and fresh arugula. Thank you mam!

I had eaten my entire burger before I realized I hadn't taken a picture. So here is one of the 120 burger that Chris got. It had gruyere cheese, caramelized onion, fresh arugula, sliced tomato and horseradish mayonnaise (sans the bacon, of course!). I'll say this...I didn't love it but Chris did...to each their own!


Fat Cow is very kid friendly. Their patio is cool with lots of shade...perfect for a little family outing. They also have a great selection on their kids menu. Lily loves their grilled cheese sandwich!


We hope you and your families had a fabulous Fourth of July! Here are some other photos from our relaxing, stress-free holiday! Enjoy!


She always wants to feed herself! Very independent!

Lily and GranZee were just pooped after lunch...so naptime on the couch it was!

Of course Oliver had to get in on the action...what a patriotic puppy!

No Independence Day is complete without tasty watermelon!

Finishing the day with a little Liberty Ale!


Wednesday, June 6, 2012

Gazpacho with Goat Cheese


This might shock you, but until recently, I had never had gazpacho! I know...shocking! I was perusing the Internet the other day and came across this gazpacho recipe from Real Simple and it was just that...real simple! So I tried it...and..eh...

It was a refreshing treat and would be perfect for maybe a cocktail party or summer fun day...but not for a random night dinner. You live your learn, I guess. Another thing that threw me off was the real onion taste...I mean, it just hits you. So when it says 1/2 of a small sweet onion...really look for the smallest one in the  bunch!

Anyway, here is the recipe...enjoy!


2 1/2 pounds of beefsteak tomatoes, roughly chopped
2 cloves of garlic, peeled and roughly chopped
1/2 small sweet onion, roughly chopped (remember really small!!!)
2 red bell peppers, roughly chopped
1 pound of cucumbers, peeled and roughly chopped
Juice from one lemon
Kernels from 2 ears of fresh corn (we ended up boiling ours, but I can imagine grilled would be fantastic)
3 tablespoons of cilantro, roughly chopped
3 ounces of goat cheese, crumbled
2 tablespoons olive oil

Toss your tomatoes, garlic, onion, bell peppers and cucumbers in a food processor and pulse until just about pureed. Unless you have the largest food processor EVER, you are going to have do work in batches until all is added.

Transfer to a large bowl and stir in the lemon juice and salt/pepper to taste.

Ladle the soup into your serving bowls and top with goat cheese, corn and cilantro. Drizzle with olive oil and serve with crusty bread!

Tuesday, June 5, 2012

Hey Fatty Meal!


Let me preface by saying a dear and beautiful friend of mine recently got engaged and I am beyond excited to stand up with her on her wedding day as she marries the man of her dreams...but after hearing the names of the bridesmaids...mama has to get serious about slimming it down!

So, say hello to my last "fatty meal"! Burger King is one of the few fast food restaurants that we can drop by when time constraints...ok, laziness... get the best of me. Their veggie burger isn't a key item on the menu, but if you search...you'll find it. I pair that bad boy with a monster size coke and some onion rings with zesty sauce and the fat kid inside me is a happy camper. The responsible, food loving, caring parent however...is ashamed.

Alright, in all honestly, this probably isn't my "last" fatty meal before the spring...but I am going to make a conscious effort to steer clear! Wish me luck!

Friday, June 1, 2012

Finger Food Friday!

One of my favorite things about being a mommy to a toddler (wow...where did the time go!) ...is watching Lily discover new foods. My biggest fear is that we are going to have a picky eater. So, to push her to being a lover of food like her parents, we are having fun introducing new colors, textures and tastes. Her reactions are the BEST! The only heart breaking experience we have had so far...she hates avocados! No matter how we dice it or spruce it up...she isn't fooled!

She loves to eat but hates being fed...she wants to do it all herself. Miss Independent already. So, finger foods it is! Since we are having so much fun stuffing her little sweet cheeks, I'll start sharing our experiences...the good, the bad, and the adorable!

This week...Black Bean & Corn Salad...success!

I got the recipe from one of my go-to sources of baby food fun...Weelicious. They have such creative ways to spice up the everyday lunch box...which I'm all about! This salad was a no-brainer to try because it is completely vegetarian, so no need to tweak too much, and it's so much fun! Not too messy, very colorful and healthy...win, win, win! Here ya go...

2 ears of corn, husked, cleaned and ready to go!
1 can of black beans, drained and rinsed1 red bell pepper, dice it up...remember, small fingers need to grab it!
2 tbsp cilantro, same thing, dice it up!
1 tbsp olive oil
1 tbsp lime juice
1 tsp honey
1/2 tsp salt

We had every intention of grilling the corn to spice it up...but there was a hungry little girl running around my feet, so off the grill the ears of corn came and into the pot! It was just as tasty...and Lily didn't seem to mind too much!

So, bring about an inch of water to boil and add your corn. Cover and steam for 5 minutes and then remove and let cool. While your corn is getting ready, go ahead and mix all of your other ingredients in a bowl.


Once your corn is cooled, add it to your party...stir and serve! So easy!


Doesn't that look so tasty? Trust me...it is! Lily LOVED it! Black beans are one of her favorite things right now so she ate all the black beans first...and then dove head first into the bell peppers and corn. 


Hope you all have a fabulous weekend! There is so much going on around town so have fun!

Monday, March 26, 2012

Sweet Strawberry Spinach Salad!

Sweet Strawberry Spinach Salad...whew, say that five times fast!

We have been trying to eat more salads and I fell upon this recipe. This salad isn't necessarily healthy but yum, tasty! If you are in the mood for a sweet treat that you won't entirely regret, I highly recommend this dish! Enjoy!

1/2 cup white sugar
2 tablespoons sesame seeds
1/2 teaspoon sesame oil
1 tablespoon poppy seeds
1/4 teaspoon paprika
1/2 cup vegetable oil
1/2 cup balsamic vinegar
2 bunches fresh spinach - chopped, washed and dried
1 pint strawberries, halved

Whisk together the sugar, sesame seeds, sesame oil, poppy seeds, paprika, oil and vinegar. Then, refrigerate until chilled.    


In a salad bowl, combine the spinach and strawberries. Drizzle with dressing, toss lightly and serve.               


I topped with a little feta cheese when serving...and that really made me a happy camper!

Wednesday, March 21, 2012

Stuffed Bell Peppers

This post is well overdue because this is a super tasty dinner that I should have posted immediately after cooking the first time! I've always wanted to try stuffed bell peppers but thought I didn't have the time or skills to make them...WRONG, these were both delicious and simple! I found a great recipe and tweaked it only slightly. Hope you enjoy!

1 cup water
1/2 cup uncooked Arborio rice
2 bell peppers, halved and seeded
1 tablespoon olive oil
2 garlic cloves, minced
1/2 onion, chopped
1/4 cup of chopped mushrooms
1 teaspoon dried basil
1 teaspoon Italian seasoning
1 teaspoon salt
1 pinch ground black pepper
1 tomato, diced
1/2 cup crumbled feta cheese

Start the party by preheating your oven to 400 degrees and lightly grease a baking sheet.

Now, work on the rice. Bring your water to a boil, stir in the rice then reduce heat and cover. Just simmer for about 20 minutes. I must admit, I had to do this part twice. Rice is my Achilles' heel!

Take your bell pepper halves and place them cut-side down on the baking sheet. Roast for 25-30 minutes, or until tender and skin starts to brown a bit.


While your peppers are rockin', heat your olive oil in a skillet over medium/high heat. Cook your garlic, onions, mushrooms, basil, Italian seasoning and salt/pepper for 2-3 minutes.


Then, stir in your tomato and cook for 5 additional minutes.


Spoon in your cooked rice and stir until heated through.


Remove from heat and mix in the feta cheese before scooping heaping spoonfuls into your pepper halves.


Return to the oven for 5 minutes. Serve immediately.               


Sunday, March 11, 2012

Veggie Quesadillas

Anytime I have family over for dinner, I always have that brief panic attack...

"What am I going to feed them???"

This last family visit we decided on Veggie Quesadillas...they are super easy to make and easy to custom so everyone ends up happy! Enjoy!

Veggie Quesadillas

A couple tablespoons of olive oil
2 garlic cloves, minced
1 red onion, sliced
1 green bell pepper, sliced
1 red bell pepper, sliced
1/2 pound fresh mushrooms, sliced
1 can whole kernel corn, drained
6 (8 inch) flour tortillas
2 cups shredded Mexican-blend cheese
Salsa, Sour Cream, etc. for topping

First, pre-heat your oven 400 degrees. While that is going, heat up your olive oil in a skillet over medium heat. Toss in your garlic, onion, bell peppers and mushrooms. Let that party cook until tender...


Then, add your corn with a little salt and pepper (to taste) for 2-3 minutes.


Have your tortillas ready to be stuffed on a baking sheet. With a slotted spoon, scoop your veggie mixture onto one side of the tortillas. Sprinkle with your Mexican cheese and then fold over.


Since I'm a short-order cook, I had to do one just onion and cheese...


Bake for 10-12 minutes or until slightly golden. Serve with some tasty salsa or a dollop of sour cream or whatever you think would be tasty...Yum!!!


Yay...happy camper!

Saturday, February 11, 2012

Addicitve Sweet Potato Burritos

Let me preface this post with a little fun tidbit about the Henry's...we LOVE sweet potatoes!

Seriously, if I see a recipe that has sweet potatoes in it, I'm automatically intrigued and that was certainly the case when I came across this recipe for Addictive Sweet Potato Burritos on Allrecipes.com!

This recipe makes a ton of burritos (12) and is fairly easy. We had enough for dinner and lunch the following day. I'm always a fan of meals that can do double-duty...anything to save a little time! Anyway, it was absolutely delicious and I hope you will try it soon! Enjoy!


Here is what you will need:

1 tablespoon vegetable oil
1 onion, chopped
4 cloves garlic, minced
6 cups canned kidney beans, drained
2 cups water
3 tablespoons chili powder
2 teaspoons ground cumin
4 teaspoons prepared mustard
1 pinch cayenne pepper
3 tablespoons soy sauce
4 cups cooked and mashed sweet potatoes
12 (10 inch) flour tortillas, warmed
1 cup shredded Cheddar cheese
First things first, go ahead and skin, cube and boil your sweet potatoes. When they are good and soft, let them cool, mash away and then set aside. While those are boiling go ahead and prep your ingredients: cut your onion, mince your garlic and drain your beans.
Preheat your oven to 350 degrees. While that baby is heating up, heat your vegetable oil in a medium sized skillet over medium heat. Saute your onion and garlic until fragrant and soft. Then, stir in your beans and give them a little mash. Don't fret it they aren't completely mashed...that is ok! Gradually stir in your water and keep on stove until all is warm.
Now, remove from heat and stir in your chili powder, cumin, mustard, pepper and soy sauce.
To make your tortillas suitable for burrito makin', warm them about 15 seconds each in a medium skillet over medium heat. After being warmed, they tend to fold and wrap a lot easier!
Spoon your bean mixture and your mashed sweet potatoes into the warmed tortillas side-by-side and evenly. Top with your shredded cheese before folding up burrito style!
Place on a baking sheet and bake for about 12 minutes or so and then serve!
We topped the burritos with a little sour cream and WOW...tasty!


Wednesday, February 8, 2012

Spinach Enchiladas

My hiatus from the kitchen has GOT to stop!  So, I planned a couple meals for this week and so far, so good!

We were in the mood for something zesty and these spinach enchiladas were MONEY!
Very easy and very tasty! Enjoy!


1 tablespoon butter
1/2 cup sliced green onions
2 cloves garlic, minced
1 (10 ounce) package frozen chopped spinach , thawed, drained and squeezed dry
1 cup ricotta cheese
1/2 cup sour cream
2 cups shredded Monterey Jack cheese
10 (6 inch) corn tortillas
1 (19 ounce) can enchilada sauce (NOTE: we only used a 10 ounce can, and that was just fine for us!)


Preheat the oven to 375 while you chop your onions and mince your garlic. Melt the butter in a saucepan over medium heat and then add the garlic and onion.

Cook for a few minutes and then add your spinach when you start to smell that tasty, fragrant garlic and onion. Let the spinach cook for about 5 more minutes and then remove from the heat.

Mix in the ricotta cheese, sour cream, and 1 cup of the shredded cheese.


Give it a taste...delicious, right!

In a skillet over medium heat, warm the tortillas one at a time until they are flexible, which is about 15 seconds.

Now, it's time to make your enchiladas! Spoon about 1/4 cup of the spinach mixture onto the center of each tortilla. Roll up and place into a 9x13 inch baking dish with the seam side down. Once they are all placed, pour the enchilada sauce over the top, and sprinkle with the remaining cup of shredded cheese.


Lastly, bake for 15 to 20 minutes or until sauce is bubbling and cheese is lightly browned at the edges. Take out and enjoy!

I served it with some fiesta rice and yum, yum, yum... it was a hit!

Friday, September 30, 2011

Green Green Pasta

FINALLY, a post about food! I know you are excited!

This pasta was delicious and I know you'll love it! It was a quick and easy dinner that was even better for lunch the next day. Enjoy!


1 (8 ounce) package pappardelle pasta
2 tablespoons olive oil, divided
1 zucchini, halved and sliced
1 bunch thin asparagus, cut into 1 1/2-inch lengths
1 crown broccoli, cut into florets
8 ounces fresh green beans, cut into 1-inch lengths
2 green onions, thinly sliced
1 (15 ounce) can garbanzo beans, drained and rinsed
2 tablespoons reserved pasta water
1 tablespoon chopped fresh basil
salt and pepper to taste
1/4 cup crumbled feta cheese

Start by boiling water for your pasta. We couldn't find pappardelle pasta, so we just used a wide noodle pasta and it was just fine. You want the pasta to be slightly al dente, so it still has a bit of a crunch. Save a bit of the pasta water when you are draining the noodles. Lastly, use 1 tablespoon of olive oil to coat your noodles after draining. Then, set aside.

While you are waiting on your water to boil, go ahead and heat 1 tablespoon of olive oil in a medium sized skillet. Add your zucchini and when it starts to brown, stir in the asparagus, broccoli and green beans. Keep this party going until those veggies are a beautiful bright green (approximately 3 minutes). Then, add your green onions and garbanzo beans. Keep those cookin' a couple more minutes and then add your reserved pasta water. Turn down your heat and cover skillet until the garbanzo beans are cooked through and your veggies are tender.

Lastly, stir the veggies and fresh basil into your pasta, season with salt/pepper and add your crumbled feta cheese...and voila!

This really was a refreshing dinner! Enjoy!

Monday, March 7, 2011

French Bread Pizza

As we were perusing the grocery store the other day, I caught a glimpse of a frozen french bread pizza and that was all it took. Had to have it! So, after purchasing all the necessary ingredients, we had one of the easiest, fastest and tastiest dinners! Enjoy!

French Bread Pizza

1 loaf of french bread
8 oz can of tomato sauce
Shredded Mozzarella cheese
1/2 onion-chopped
1 red bell pepper-chopped
1 green bell pepper-chopped
A pinch of garlic salt
A few pinches of parsley flakes
A pinch of oregano
A few pinches of basil
pepper to taste


First, preheat your oven to 350 degrees and start chopping your toppings. I only used onions and peppers...but get wild with it! Once you are finished chopping, set aside.


Next, prepare your sauce. Simply heat an 8 oz can of tomato sauce and add your oregano, parsley, garlic salt and basil. I also gave it a couple turns of the pepper mill.


Now, cut your loaf of french bread length wise and then into your desired serving size. We are fatties so that is why these servings are HUGE. I'll have you know there were no left-overs...wait, why am I bragging about this? Anyway...spread your desired amount of sauce on each slice.


Next, add your desired amount of shredded cheese.


Now, add your toppings. I also sprinkled with a little basil.


Once done, pass over to the oven for 12-15 minutes...and BAM, done!
We enjoyed with a nice salad...so yummy!


This dish is perfect for meals with "mixed company"...meaning vegetarians and meat-eaters.

Let me explain...if you aren't getting the support you need from friends and family, feel free to make your dinner party BYOM (Bring Your Own Meat). You supply the ingredients listed above, they supply the pepperoni or sausage and guests dress their own slices at a topping station before baking. Everyone wins!

And, I'll have you know...this dish is puppy approved!
I pinched off a bite for him and he was one happy puppy, licking his lips in approval!

Wednesday, February 16, 2011

One. Tasty. Dinner.

I have never been the biggest Valentine's Day fan. It's not that I'm bitter with bad experience... I just never really got into the whole flowers, expensive dinner out, ooey gooey love fest. Which, I admit, is weird because I'm a girl that loves being doted on. Instead, our tradition is to have a crazy amazing, treat-of-a-dinner at home. (Well, expect for the year we ordered the heart shaped pizza from Papa Johns!)

Anyway...This year ranks as one of the best...imagine this: Zucchini Cakes, Cheesy Couscous, Steamed Asparagus...all drenched in a sinful hollandaise sauce. Are you ready for this?

Let's start with the star of the show...the zucchini cakes. If you are a fan of traditional crab cakes, this is a recipe for you. It tastes so close to crab cakes without the crab, you are going to love it! I was floored by just how tasty these were!


2 1/2 cups grated zucchini
1 egg, beaten
2 tablespoons butter, melted
1 cup bread crumbs
1/4 cup minced onion
1 teaspoon Old Bay Seasoning TM
1/4 cup all-purpose flour
1/2 cup vegetable oil for frying


In a large bowl, combine zucchini, egg, and butter or margarine. Stir in seasoned crumbs, minced onion, and seasoning. Mix well.


Shape mixture into patties.


Dredge in flour.


In a medium skillet, heat oil over medium high heat until hot.


Fry patties in oil until golden brown on both sides.

Now...moving on to the couscous.
I love couscous anyway but this recipe really brings it to a new level!
 
 
1 cup couscous
1 cup boiling water
3 tablespoons olive oil
1 clove garlic, minced
1/4 cup diced red bell pepper
4 green onions, sliced
1 cup cherry tomatoes
1 cup fresh basil leaves
1 pinch salt
1 pinch ground black pepper
1 dash balsamic vinegar
1/4 cup grated Parmesan cheese

Preheat oven to 350 degrees.  Stir couscous into boiling water and return water to a boil. Cover and remove pot from heat. Let stand 5 minutes, then fluff with a fork.

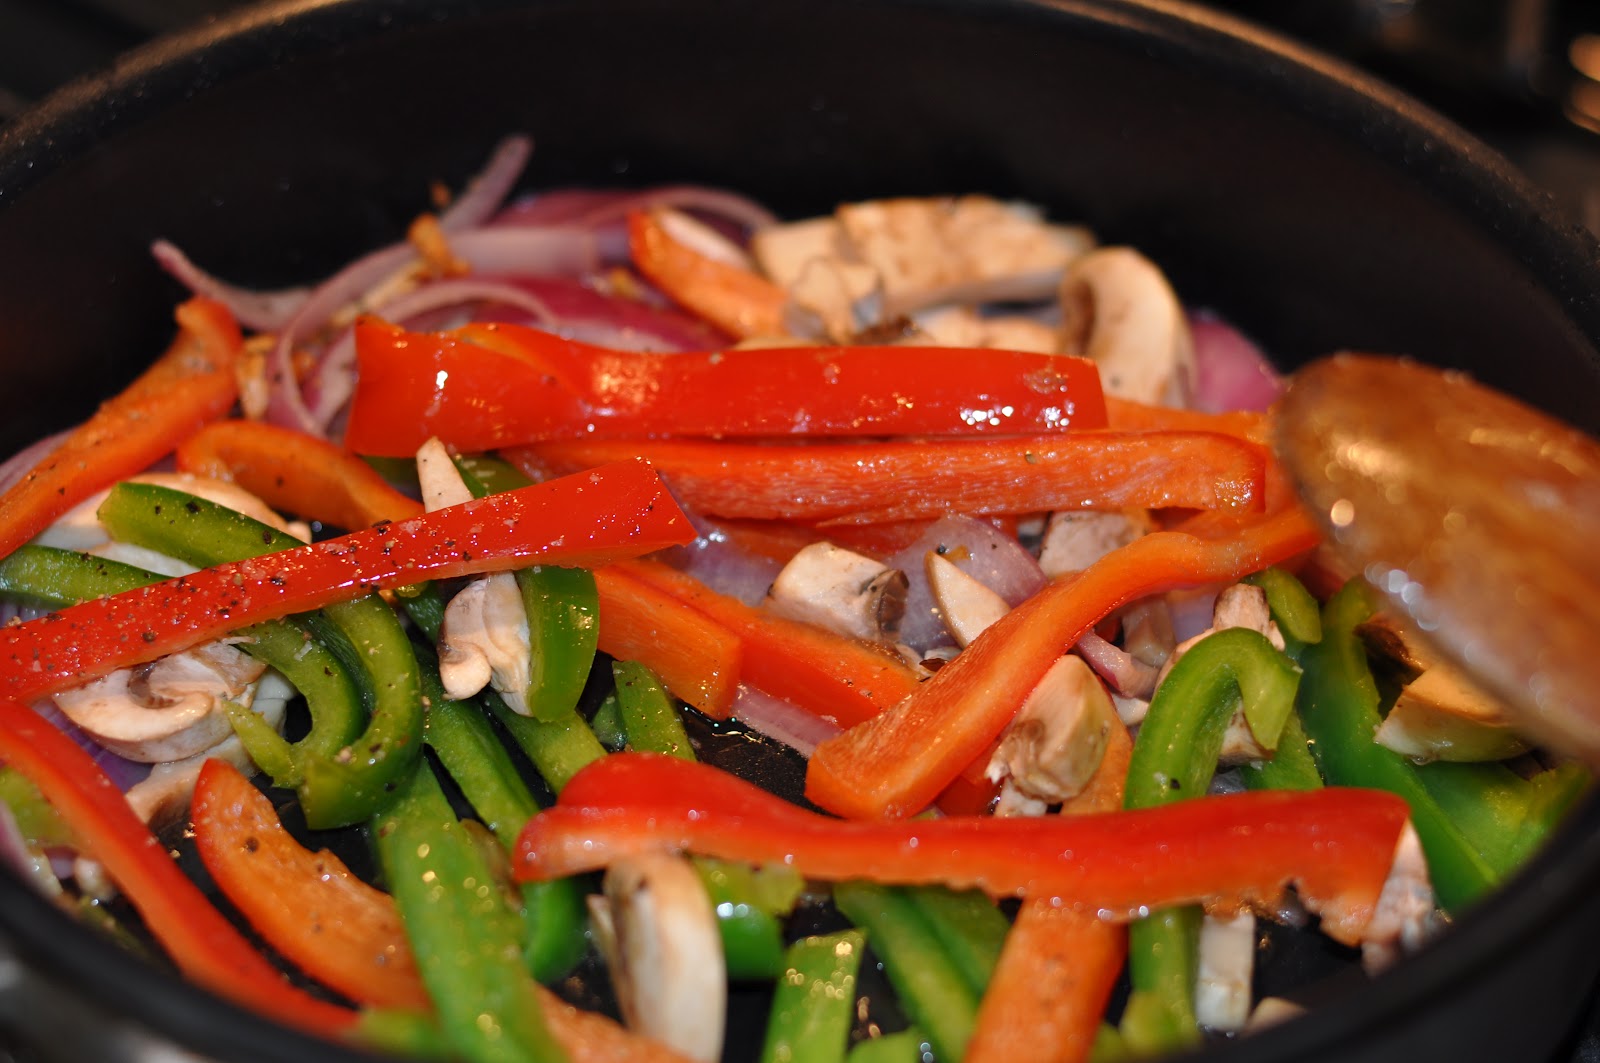
While the couscous is cooking, heat oil in a large skillet over medium heat. Stir in garlic, green onions and peppers; saute briefly.


Stir in tomatoes, basil, cooked couscous, salt and pepper.


Mix together and transfer to a 1 1/2 quart casserole dish. Splash some balsamic vinegar on top.  Bake in a preheated 350 degrees F (175 degrees C) oven for 20 minutes. Sprinkle with Parmesan cheese while still warm.

Now...the sinful, sinful treat...hollandaise sauce!
 
3 egg yolks
1/4 teaspoon Dijon mustard
1 tablespoon lemon juice
1 dash hot pepper sauce (e.g. Tabasco)
1/2 cup butter

In the container of a blender, combine the egg yolks, mustard, lemon juice and hot pepper sauce. Cover, and blend for about 5 seconds.

Place the butter in a glass measuring cup. Heat butter in the microwave for about 1 minute, or until completely melted and hot. Set the blender on high speed, and pour the butter into the egg yolk mixture in a thin stream.


It should thicken almost immediately. Keep the sauce warm until serving by placing the blender container in a pan of hot tap water.


All of this will some traditionally steamed asparagus...


and you are looking at one tasty dinner!


Who wouldn't fall in love while eating this? Surprisingly, the couscous and zucchini cakes even passed the "leftovers" test! We had some for lunch the next day and it was still tasty! Got to love meals that can do that!